How Do You Choose a First Telescope You Will Actually Use?
The best first telescope is not the one with the biggest magnification number on the box. It is the instrument you can carry, set up, aim, and use often enough to learn the sky. Before buying, decide where you will observe, what you want to see, who will set it up, and how much friction will make it stay in a closet.
Borrow the experience before you buy the equipment
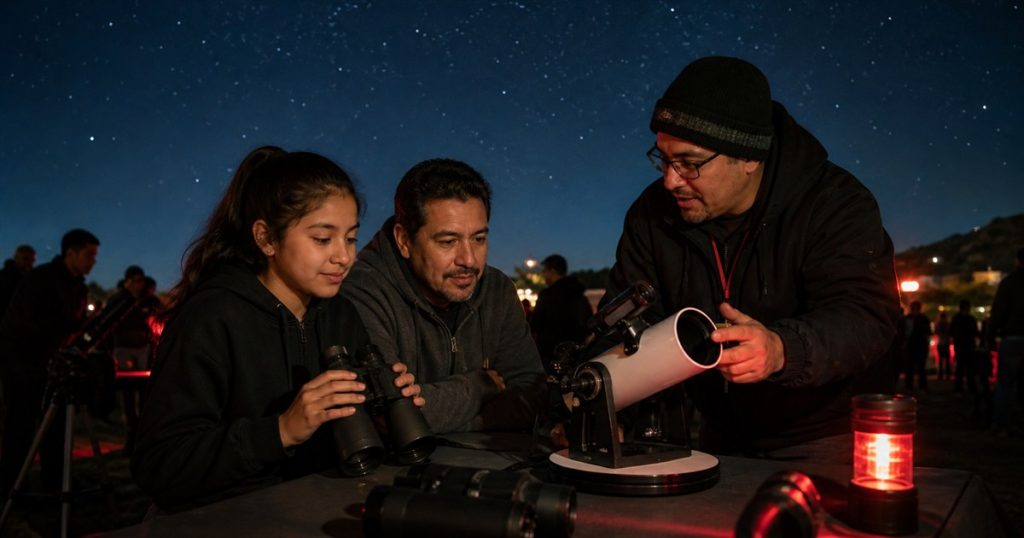
Start with a public observing night, astronomy club, library loan program, or a friend who already observes. Try binoculars, a simple tabletop telescope, and a larger instrument if they are available. You will learn more from ten minutes of carrying and aiming real equipment than from comparing specifications for an hour.
NASA’s Night Sky Network gives similar advice in its guidance for choosing a first telescope: binoculars and local astronomy clubs can be a better beginning than a cheap telescope purchased without experience.
Write a one-sentence observing job
Complete this sentence: “I want to use it to see ___ from ___, and I need to move it ___.” The Moon and bright planets from a small yard create a different job than faint objects from a dark site that requires a car trip. A child using the telescope with an adult creates different setup and height needs than an experienced photographer building a tracking system.
This sentence protects you from buying for an imagined future version of yourself. Your first instrument should make the next clear night easier, not commit you to a second hobby in transport, alignment, software, and troubleshooting.
Judge the whole system, not just the optics
- Aperture: the main lens or mirror’s light-gathering size matters more than an inflated magnification claim.
- Mount: a shaky mount can make a capable telescope frustrating because the view moves every time you touch it.
- Finder and eyepieces: make sure you can locate an object and reach useful low and moderate magnifications.
- Setup: count the pieces, alignment steps, power needs, and time from storage to observing.
- Storage and transport: verify the packed size and the weight of the heaviest part, not only the assembled display weight.
Run the five-minute setup test
If possible, ask the seller or club member to let you set up, point, focus, and pack the telescope with minimal help. Notice where you hesitate. A complicated step is not automatically bad, but it should buy you a capability you actually want.
Also test the viewing position. A technically excellent instrument can still be the wrong choice if the eyepiece is uncomfortable for the primary user, the mount is awkward on your surface, or the telescope is too heavy to move safely.
Protect the beginner from one dangerous shortcut
Never look at the Sun through a telescope, binoculars, finder, or camera unless you are using a proper solar-viewing system designed for that exact purpose and following qualified instructions. A general night-sky telescope is not safe for solar observing merely because it came with a dark-looking accessory.
Buy for the first six observing sessions
Choose an instrument that lets you find a few bright targets, repeat the setup, and improve without replacing everything immediately. A clear return policy and support from a knowledgeable seller can be worth more than a bundle of accessories you do not understand.
Use the same dependency test you would use before adopting any new technology: if the device needs extra equipment, software, training, or travel to deliver the promised experience, count those requirements before you decide it is affordable.
A first telescope succeeds when it turns curiosity into repeated observing. If binoculars, a club membership, or a borrowed instrument does that better right now, that is not settling. It is choosing the tool that keeps the sky open.